

 You know what’s been said! You know what’s been said!
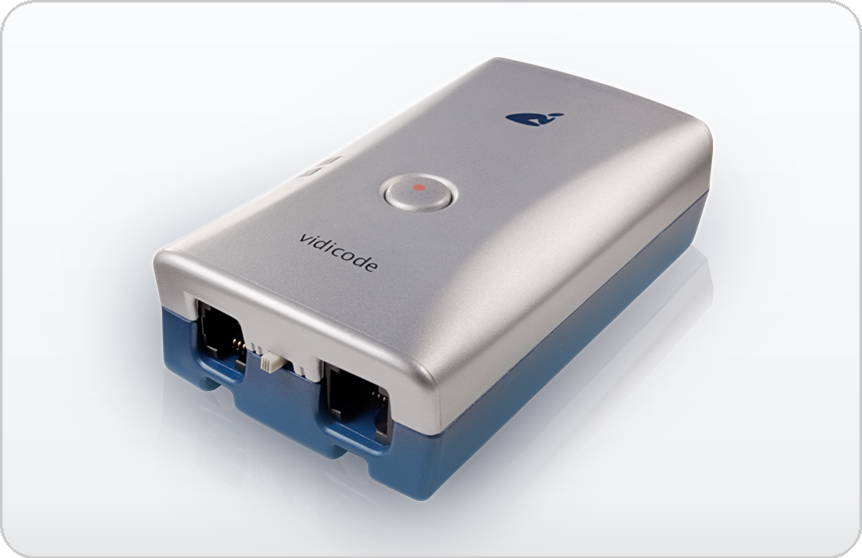
The Call Recorder Pico is a single line USB Call Recorder. It’s a powerful little hardware & software combination to record from an analog telephone line, or to record analog audio that a wired handset receives from a telephone, even if this is a TDM or VoIP phone. This device allows you to record phone calls automatically or manually. The recordings are stored on your PC. They are kept in a comprehensive database on the PC including all available metadata: date, time, internal and external telephone number, duration of the call and more. You can even use it to record conversations in the room with its microphone input. It’s the perfect recording solution for private persons, small businesses, call centres (special functionalities) or any other organisations. Call Recorder Pico is compatible with Windows 7, 8 and 10. It will not run on a Mac or OS X. Records from practically any phone with a wired handset.
SpecificationsProduct: Call Recorder Pico Storage Connections Power Supply: USB powered Technical Approvals Instruction videoIn the video it is explained how the Call Recorder Pico can be connected to system telephones. Features
|


Diagrams
Getting started
The Call recorder Pico is set up in a sequence of steps. They are:
• Connecting the Pico to the telephone
• Connecting the Pico to the PC
• Software installation
• Set up of the software
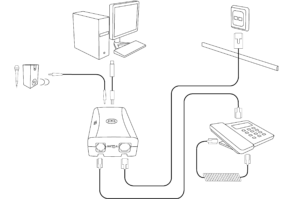
Hardware installation
Depending on the kind of telephone you want to record from, the Pico is connected to the telephone line or the telephone handset. In the manual you will find instructions for recording from an analogue telephone line or recording from the handset of a digital telephone.
The Call Recorder Pico works best with a properly installed sound card or sound device in your PC. However, the Pico can also be connected to external speakers. The signal on the speakers is a mono signal.
Notification
When recording a conversation with the Pico it is possible to notify your conversation partner of the recording through a regularly returning beep or through a spoken message. See the manual about recording and play back of the notification message.
Connecting the Call Recorder Pico
Determine the kind of telephone you want to connect the Pico to. This will either be a normal (analogue) or digital (e.g. Key System, PBX, ISDN) device. If you have an analogue telephone, use the “Record from telephone line” method. If you have digital telephone, use the “Record from handset” method.
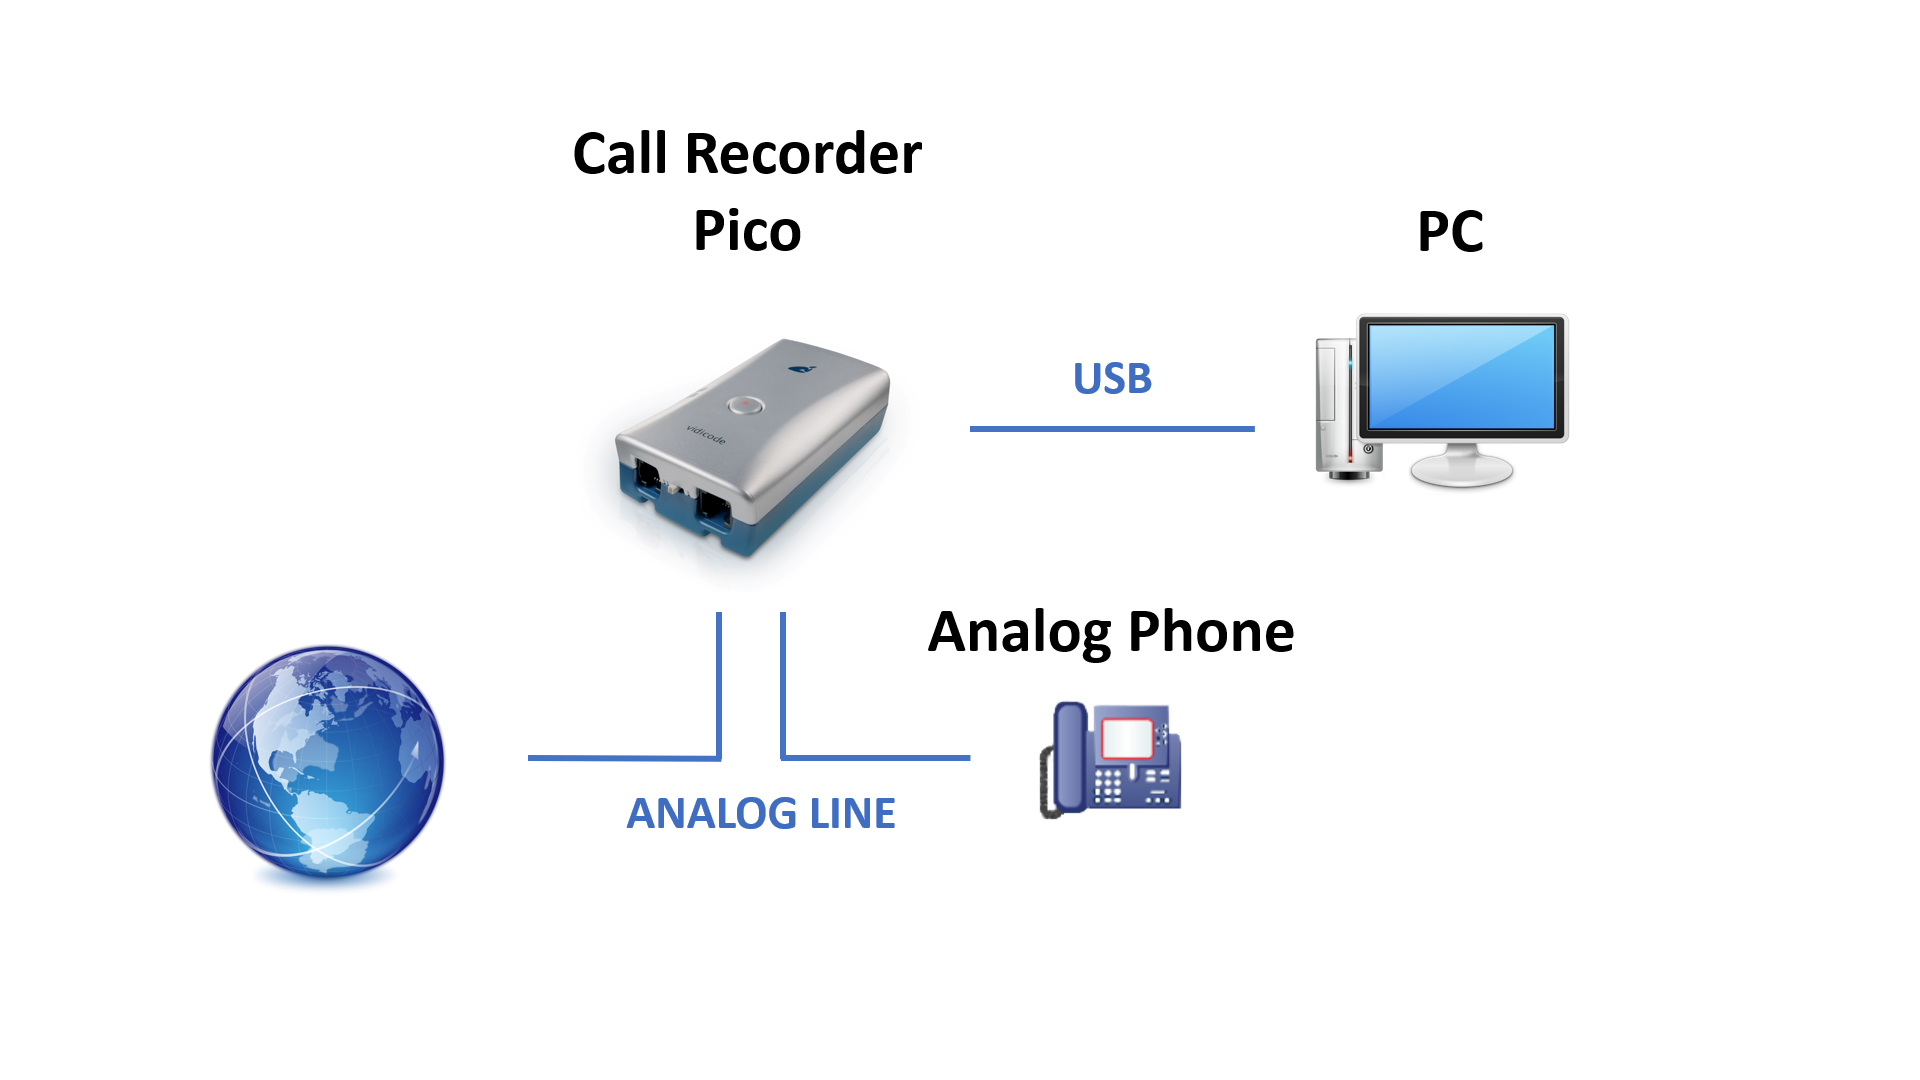
Record from telephone line
Record from telephone line can only be used if you have an analogue telephone. When “record from telephone line” is used the Pico can detect “on/off hook” straight from the telephone line.
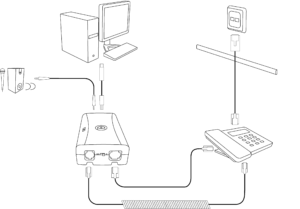
The switch between the telephone sockets must be in position I. If you have a cordless analogue telephone set, connect the Pico to the base unit. If you have ADSL, connect the Pico between the ADSL modem and the telephone. See the diagram below.
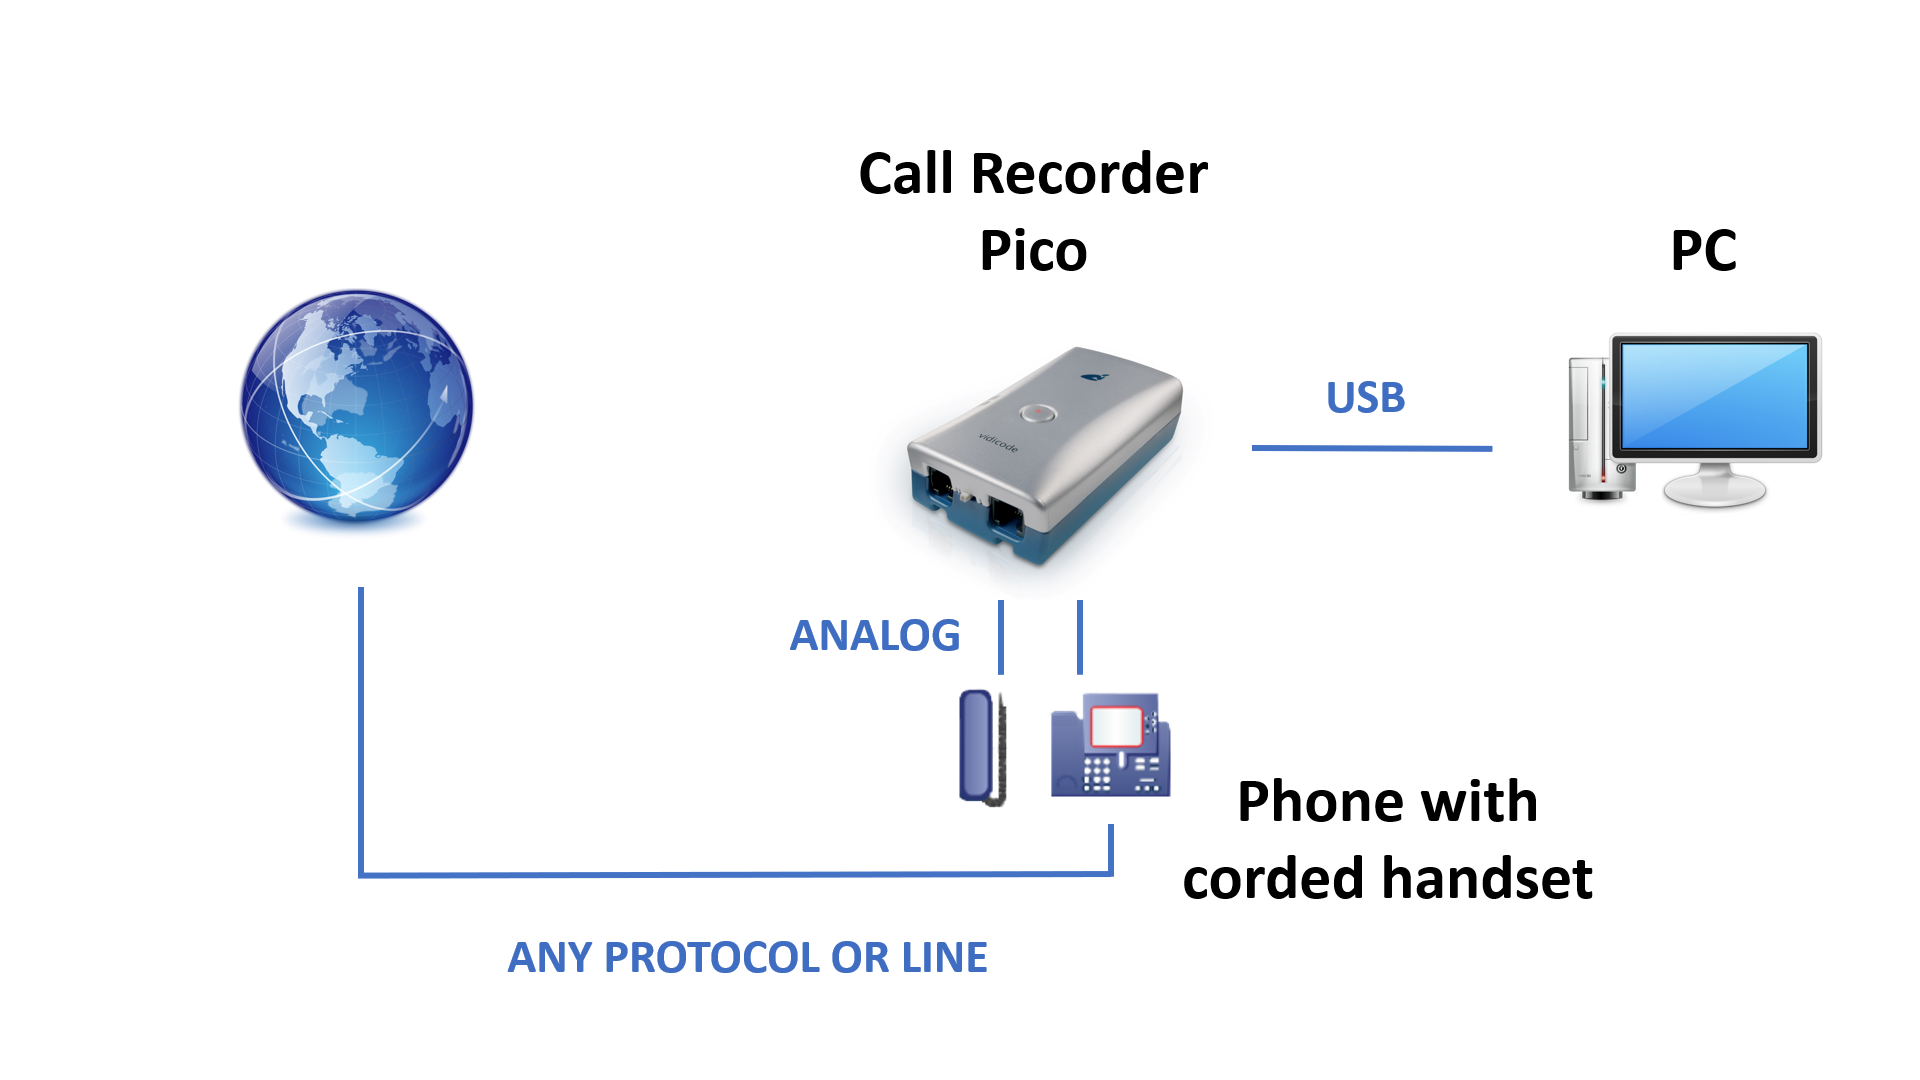
Record from handset
When “record from handset” is used the Pico needs to detect “on/off hook” by “listening” to the handset. The handset must be corded. The switch between the telephone sockets should be in position I. Depending on the wiring of your handset you may need to put it in position II.
Record from microphone
A third possibility is connecting the Pico to a microphone. Conversations in a conference room or office could be recorded with the Pico connected like this.
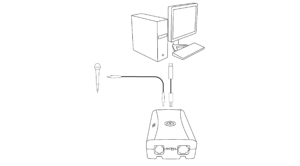
Connecting the Pico to the PC
The Pico can be connected to any free USB port or to a USB hub. If connected to a hub, this hub should have an external power supply.
For Windows XP, Vista, 7, 8 and 10, the Pico will show up in the device list after a couple of seconds.
Software Installation
Download the Call Recorder Pico software from https://www.vidicode.com/service-and-support/software/
The file is called ‘CRPicoInstall.exe‘.
You can also use the installer from the CD-ROM, if you received one.
Start the installer by double-clicking. Follow the instructions on the screen.
• Select your preferred language for the installation.
• You are prompted to accept the software license agreement.
• Now enter the user details and the installation key provided with your product
Proceed with the next steps of the installation:
You will be asked:
• to confirm the location on your hard drive where the software will be installed
• specify a location for the data files
• whether you want a desktop icon for the application
When you start the software for the first time, with the new Pico connected, the Device list will open. Make the connection and recording settings there. See the Pico manual for details.
If the Pico software cannot access the Call Recorder Pico in Windows 10, check the “Microphone privacy settings”, which can be found in the Settings app of Windows. In this screen, it is needed that “Allow apps to access your microphone” is enabled, to allow CR Pico to record audio. And make sure your antivirus software doesn’t block the connection.
In some cases the CR Pico Line device is not available. To correct this, set it as default recording device in the Windows Sound settings.
Recording options
Start / Stop a recording
There are four possibilities:
• Automatic: The software automatically starts recording when it detects that the telephone is off-hook, based on the audio level and on / off hook signals when available.
• Semi-automatic: The software detects when the telephone is off-hook or on-hook, but it does not start a recording automatically. You can choose to start a recording when the telephone is off-hook, by clicking the Record button in the Pico application or press the Record button on the Pico itself.
• Manual: You choose to start and stop a recording manually. Recording can be started and stopped from the Audio screen. Recording can also be started from the Active dialog or by using the Record button on the Pico itself.
• Automatic (on / off hook only) The software automatically starts recording when it detects that the telephone is off-hook, based on on-hook signals only, not on audio level. This option is not possible when the Pico is connected to the handset (which is the only way to connect Pico to a digital telephone). In this case, choose another recording option.
Screen Recording (additional license required)
• Purchase a Screen Recording license
• Open the Pico Software
• Go to the Options menu and click on Setup
• Click on the License tab and fill in the Screen Recording license key
• Click on the Screen tab and turn on Screen Recording. You can specify which screen(s) of your PC should be recorded.